Before starting on my own wedding suite, I had a million and one ideas on how it could be done. Alas, as I did not have infinite time nor an unlimited budget, we had to decide on something eventually. What I did settle on was something minimalist, geometric and modern. I’ve always been a fan of art deco but didn’t want the invitations to end up looking too Gatsby-like, especially since the venue was a low-key, intimate outdoor garden.
I first wrote out our names and “RSVP” multiple times and scanned them in. After vectorizing the best ones in Illustrator, I designed the frame around it and added the details, using geometric elements while letting the calligraphy shine.
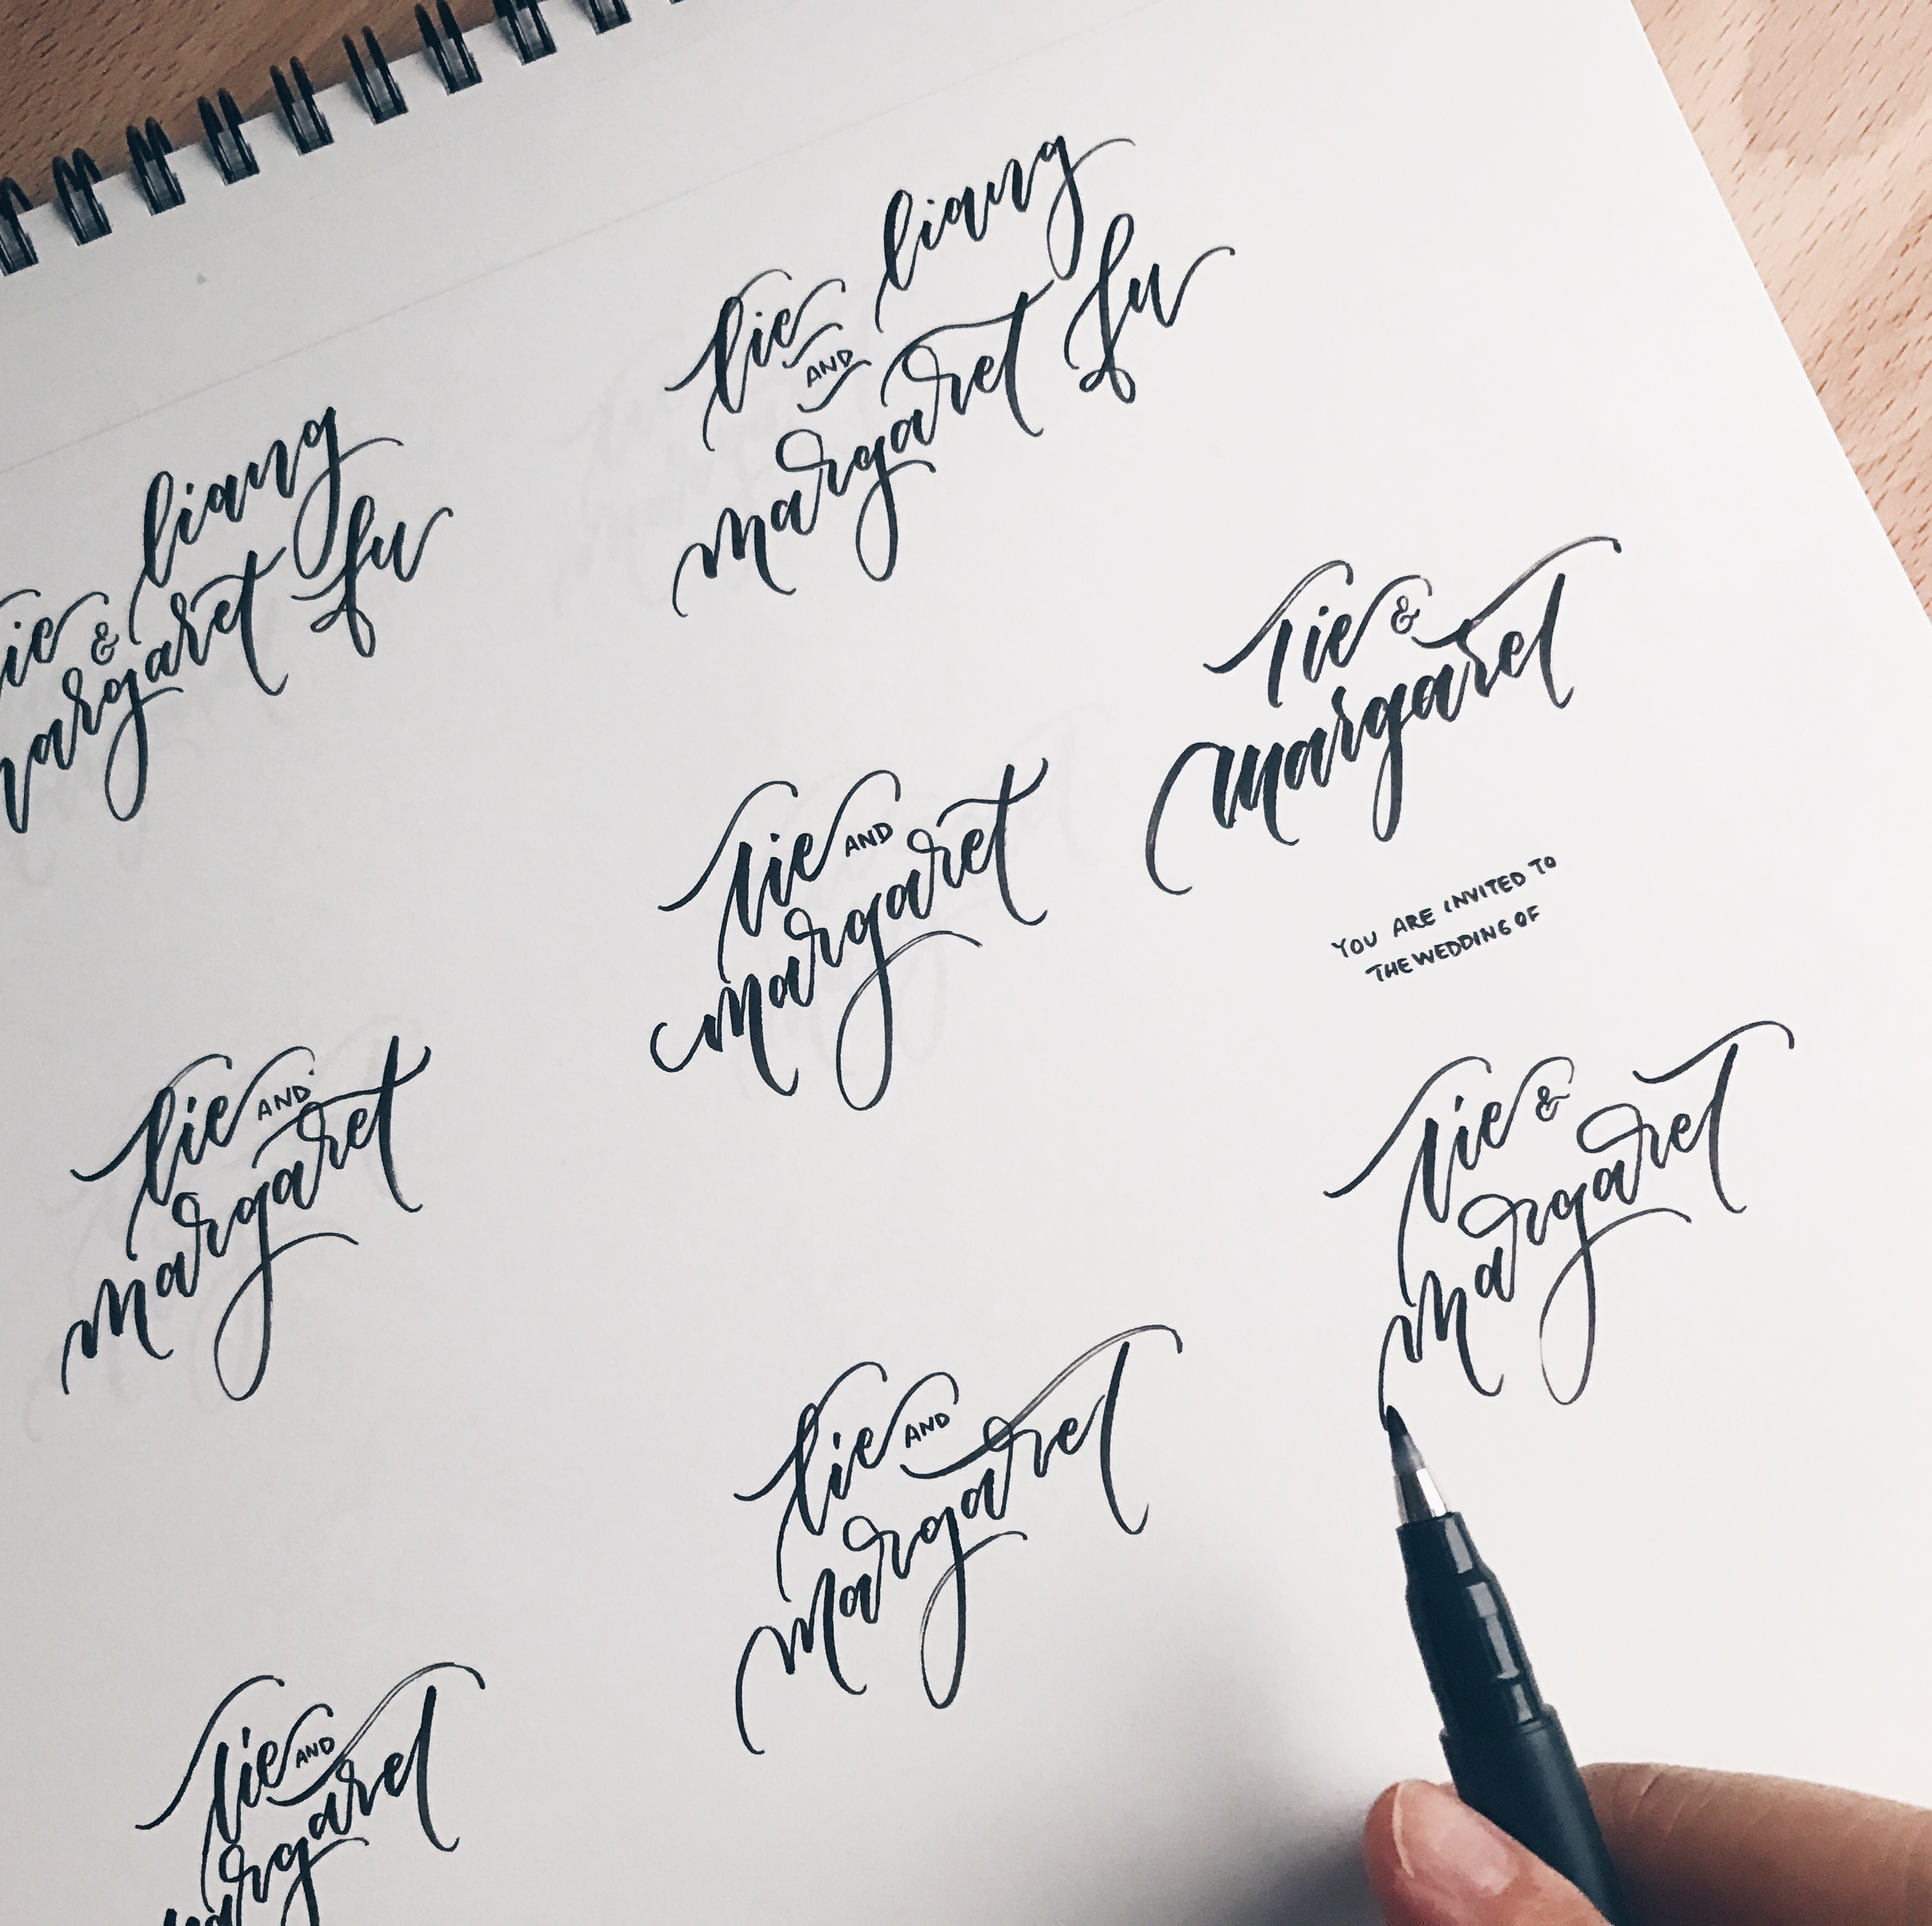 Writing out our names
My husband Tie and I had both taken a letterpress workshop at The Arm in Williamsburg, Brooklyn prior to all this. We knew we wanted to put our newly acquired knowledge to the test and got to work. First step was ordering the polymer plates from Boxcar Press a few weeks in advance. They came out great.
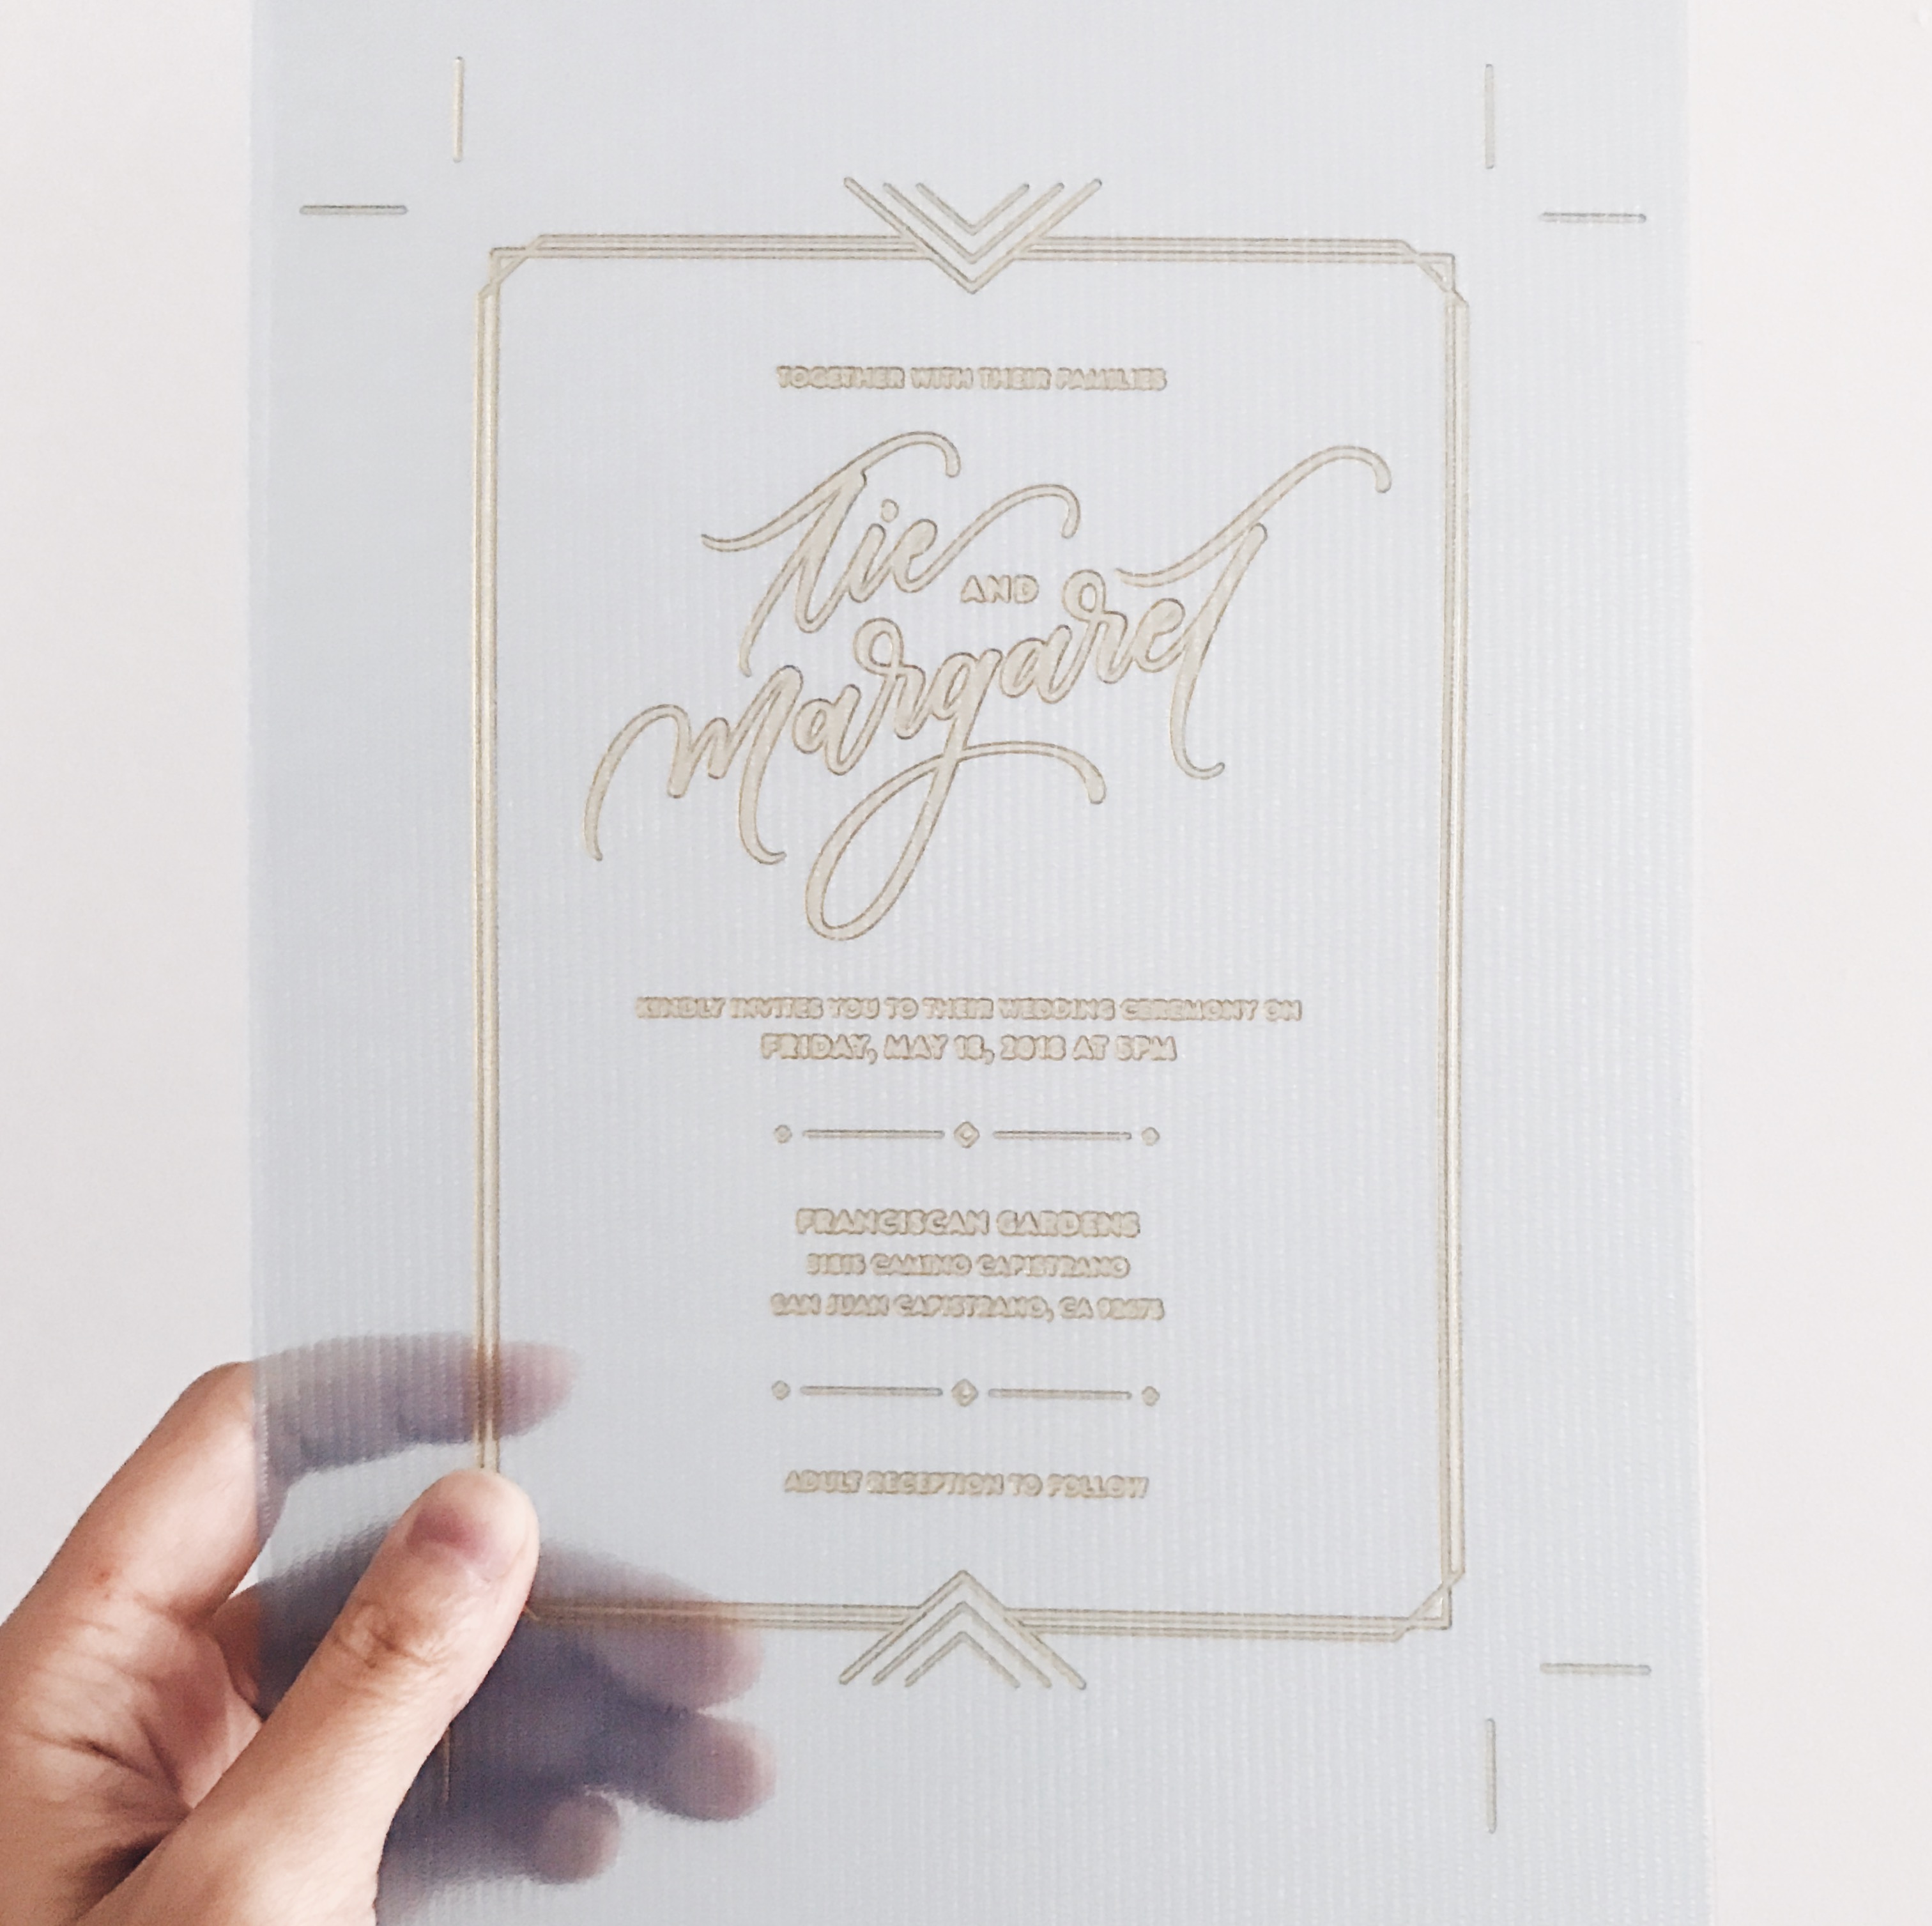 The polymer plate
I’ve always wanted to work with handmade paper, but in this case it wouldn’t quite fit the modern geo-shape look we were going for. So instead we bought some white 110lb cardstock from Amazon. I didn’t want the invites to feel flimsy and it had to be heavy enough to hold a deep impression for letterpress. If I were to do it all over again, though, I would opt for 220lb cardstock instead. As for the ink, our primary color in the wedding palette was a soft dusty blue. With a Pantone book in hand, I picked out the color that most closely resembled what I had in mind and got ready to mix the inks. Unfortunately, the studio was unaware that they had run out of a certain blue I needed in the formula so I had to add in some more parts of white and black to get the muted tones I was looking for. Argh! Next time, I’m going to triple-check that they have all colors in supply before booking time.
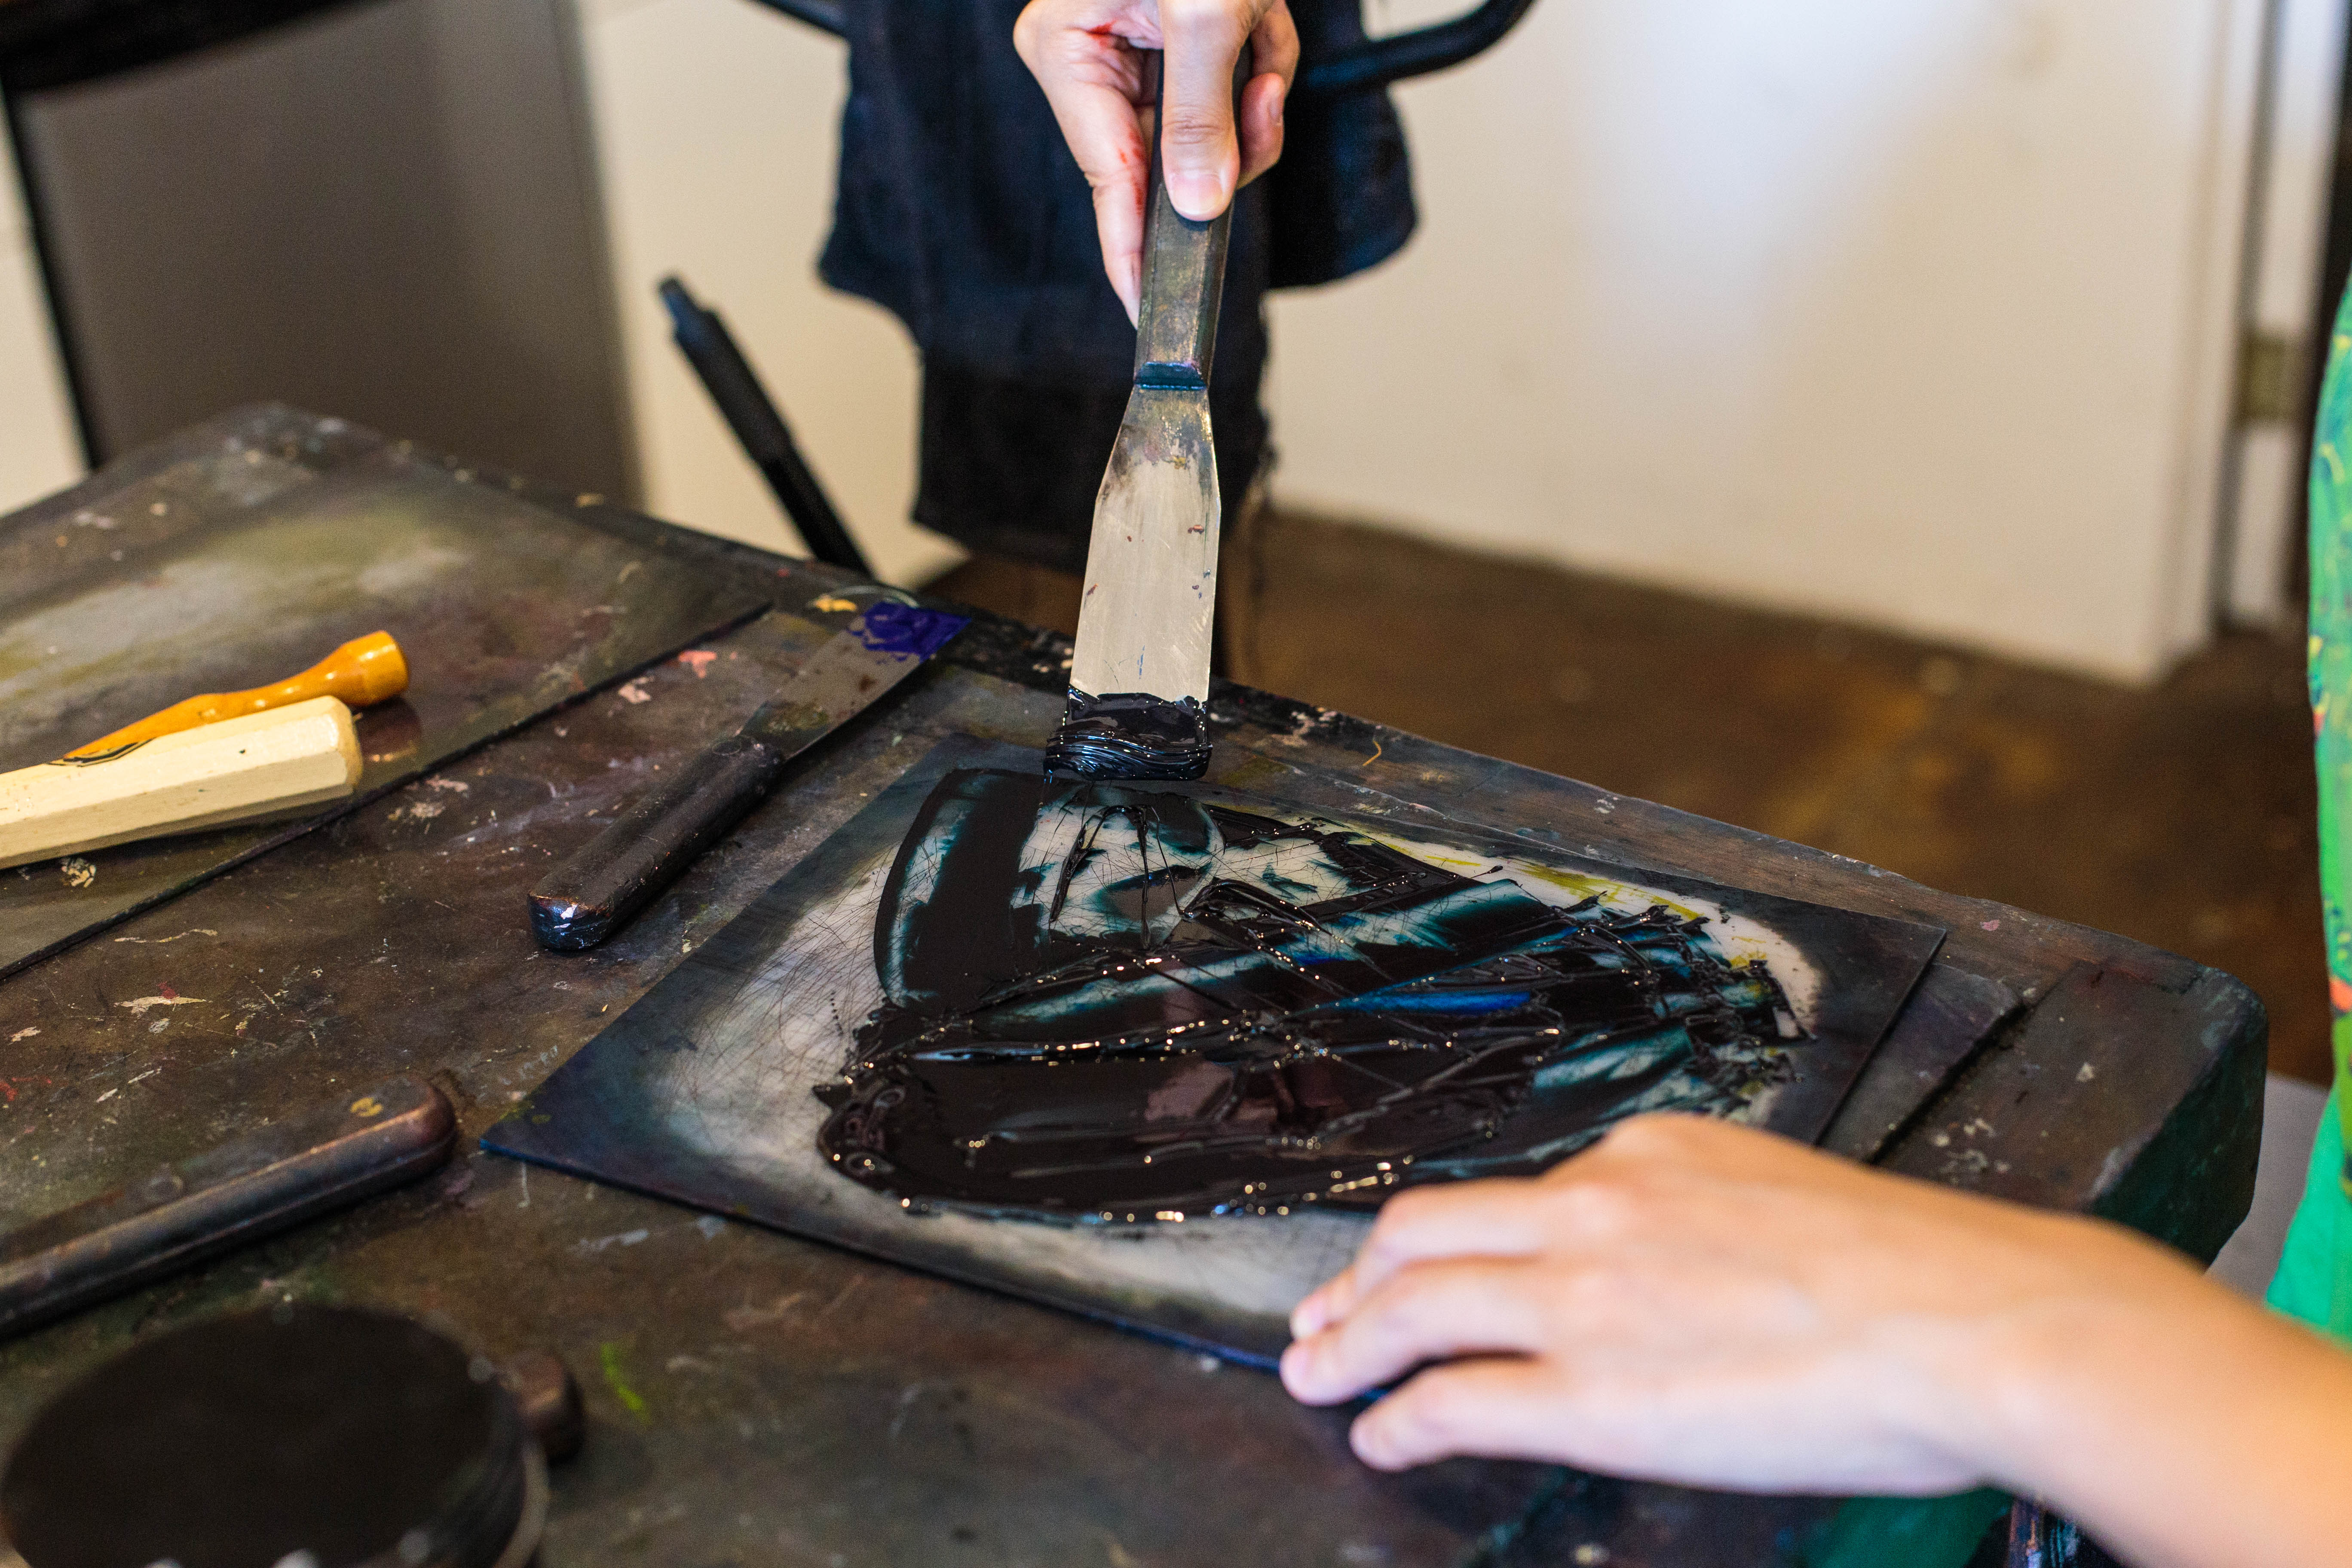 Mixing ink
Tie may not be a designer, but he really enjoys the hands-on process of printing. I think he had more fun than I did. We used the Vandercook press to churn out those invites and RSVP cards and after clean up, we were done in two hours.
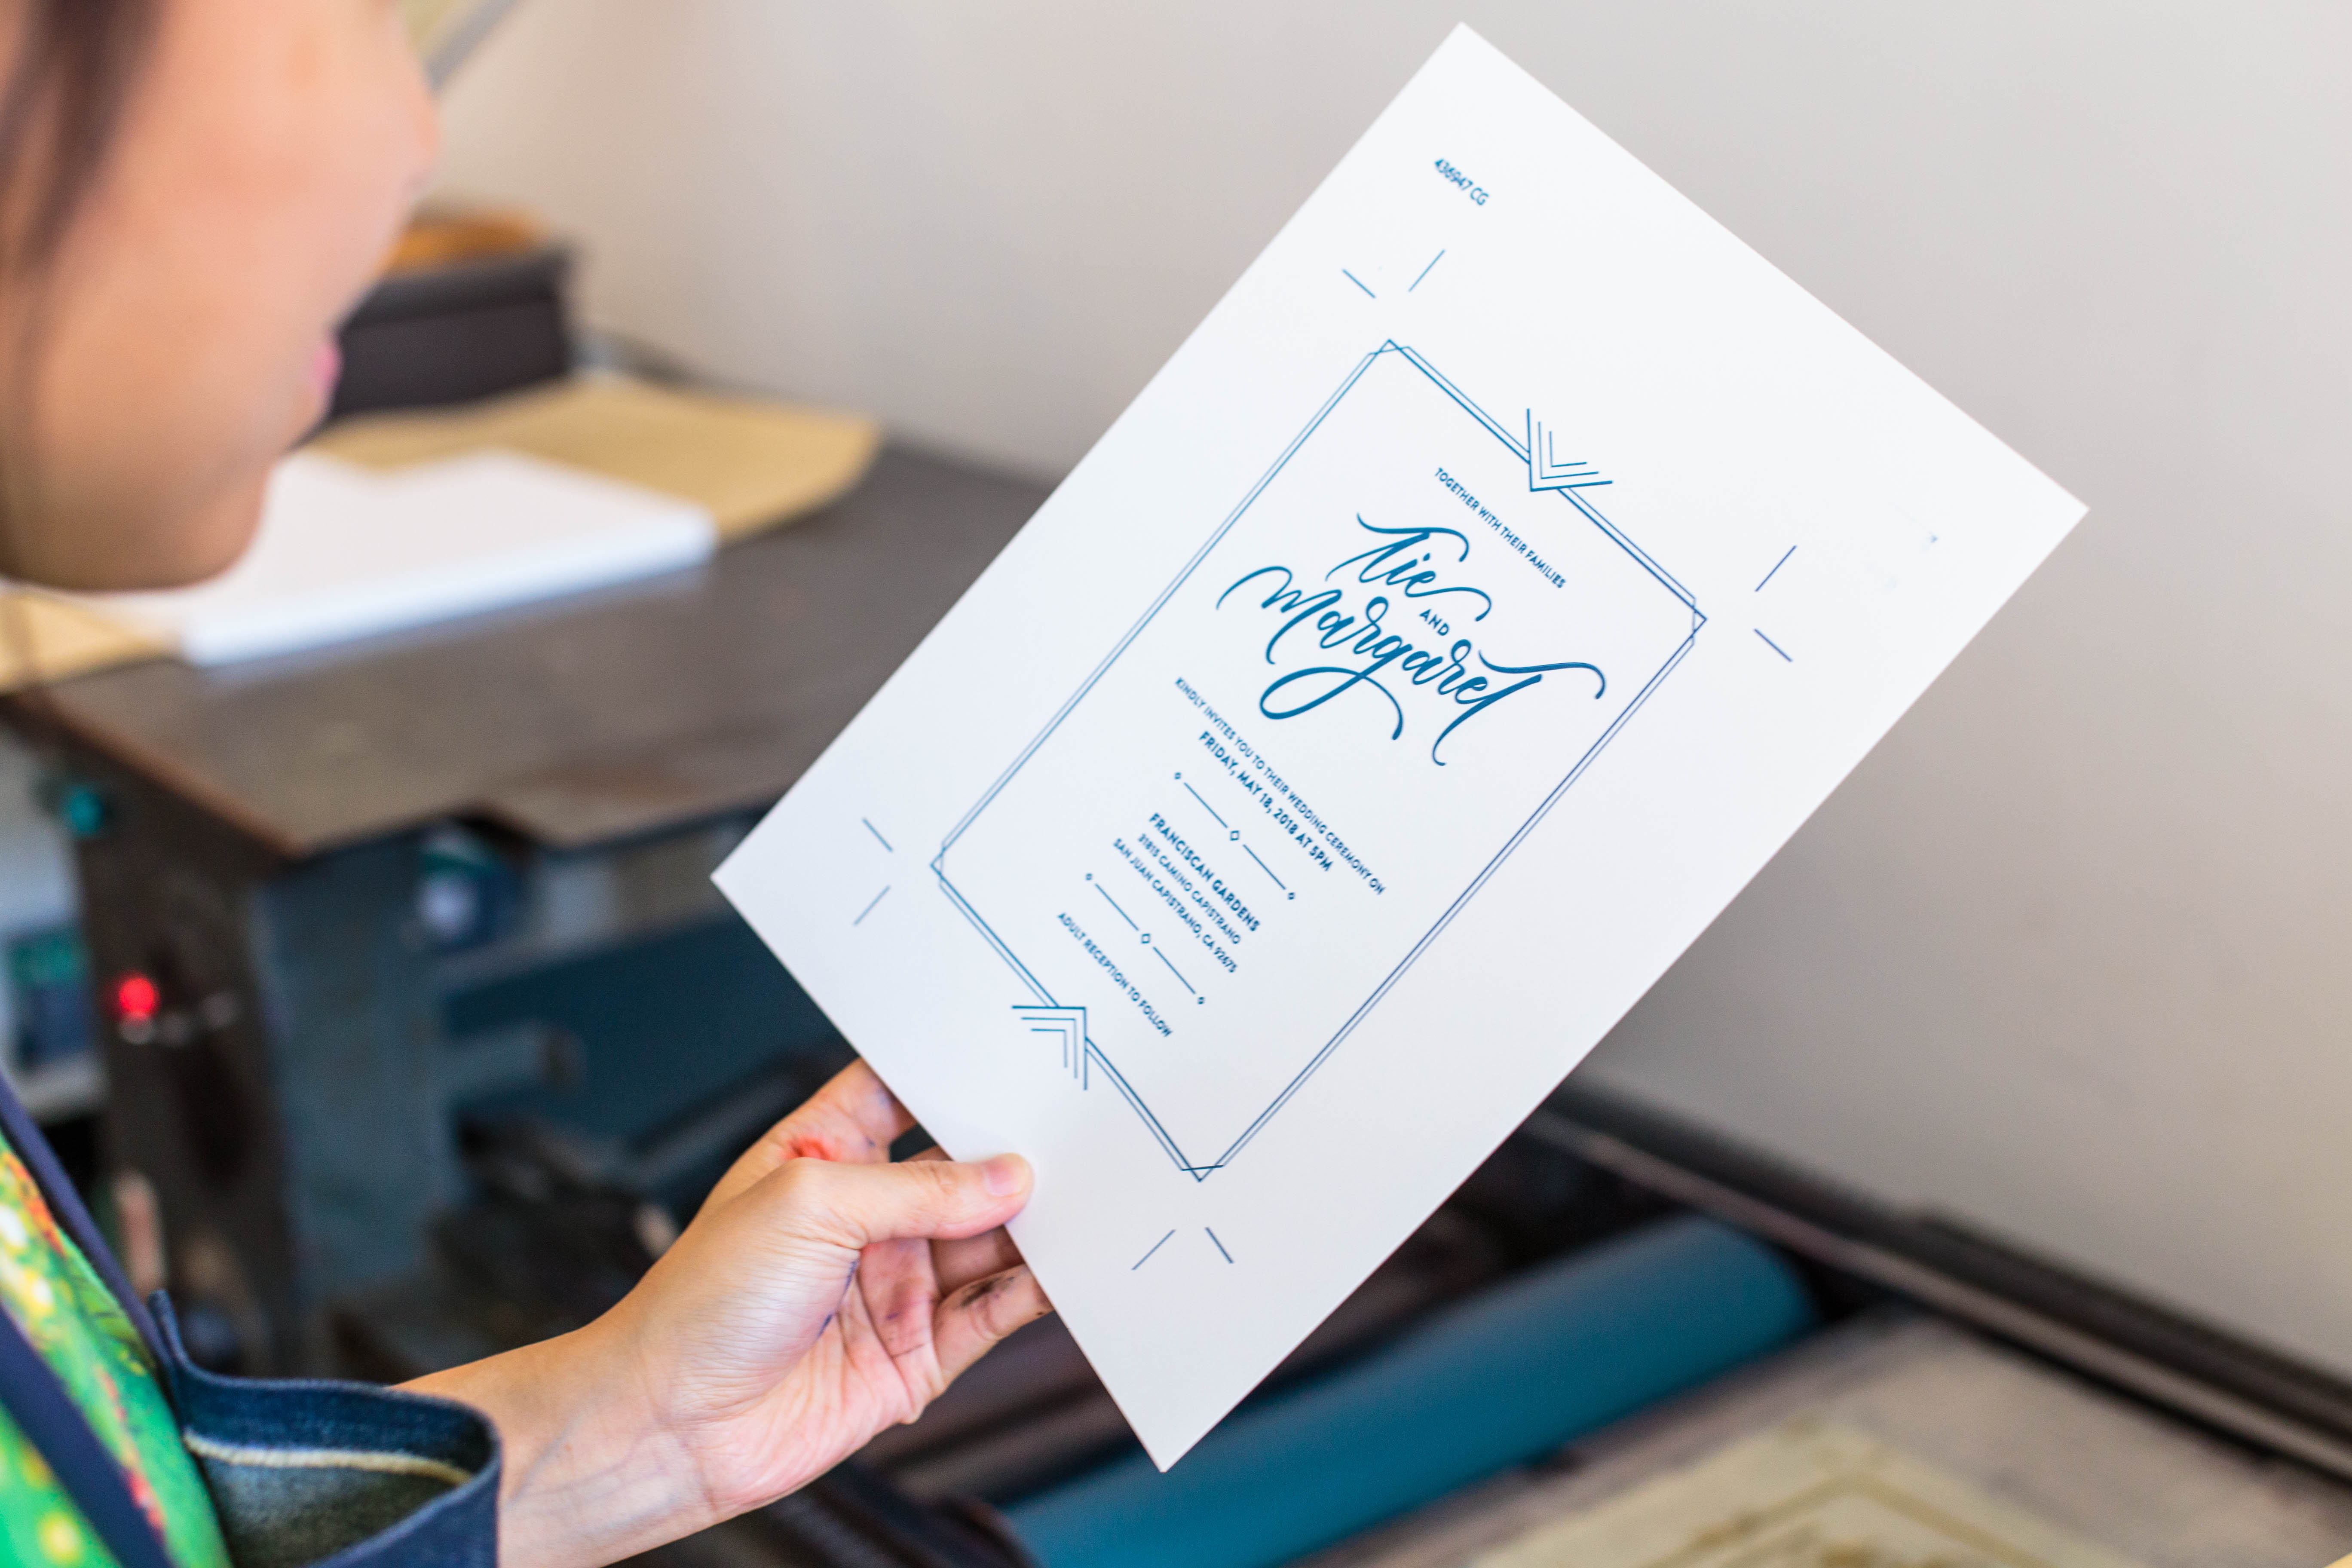 The finished invite!
As Tie was busy helping me trim the invites, I worked on writing out all the envelopes. The dusty blue ones I ordered were lighter than the ink color on the invites, which actually turned out fine as sometimes having everything be too matchy-matchy can be boring. I love Dr. PH Martin’s bleedproof white ink, but the envelopes were giving me a headache. Not surprisingly, you get what you pay for. They were affordable and they were in the color I wanted, but boy did they snag the nibs. As a result, it ended up taking much longer to write on than I’d thought. Lesson learned: don’t go too cheap on the envelopes.
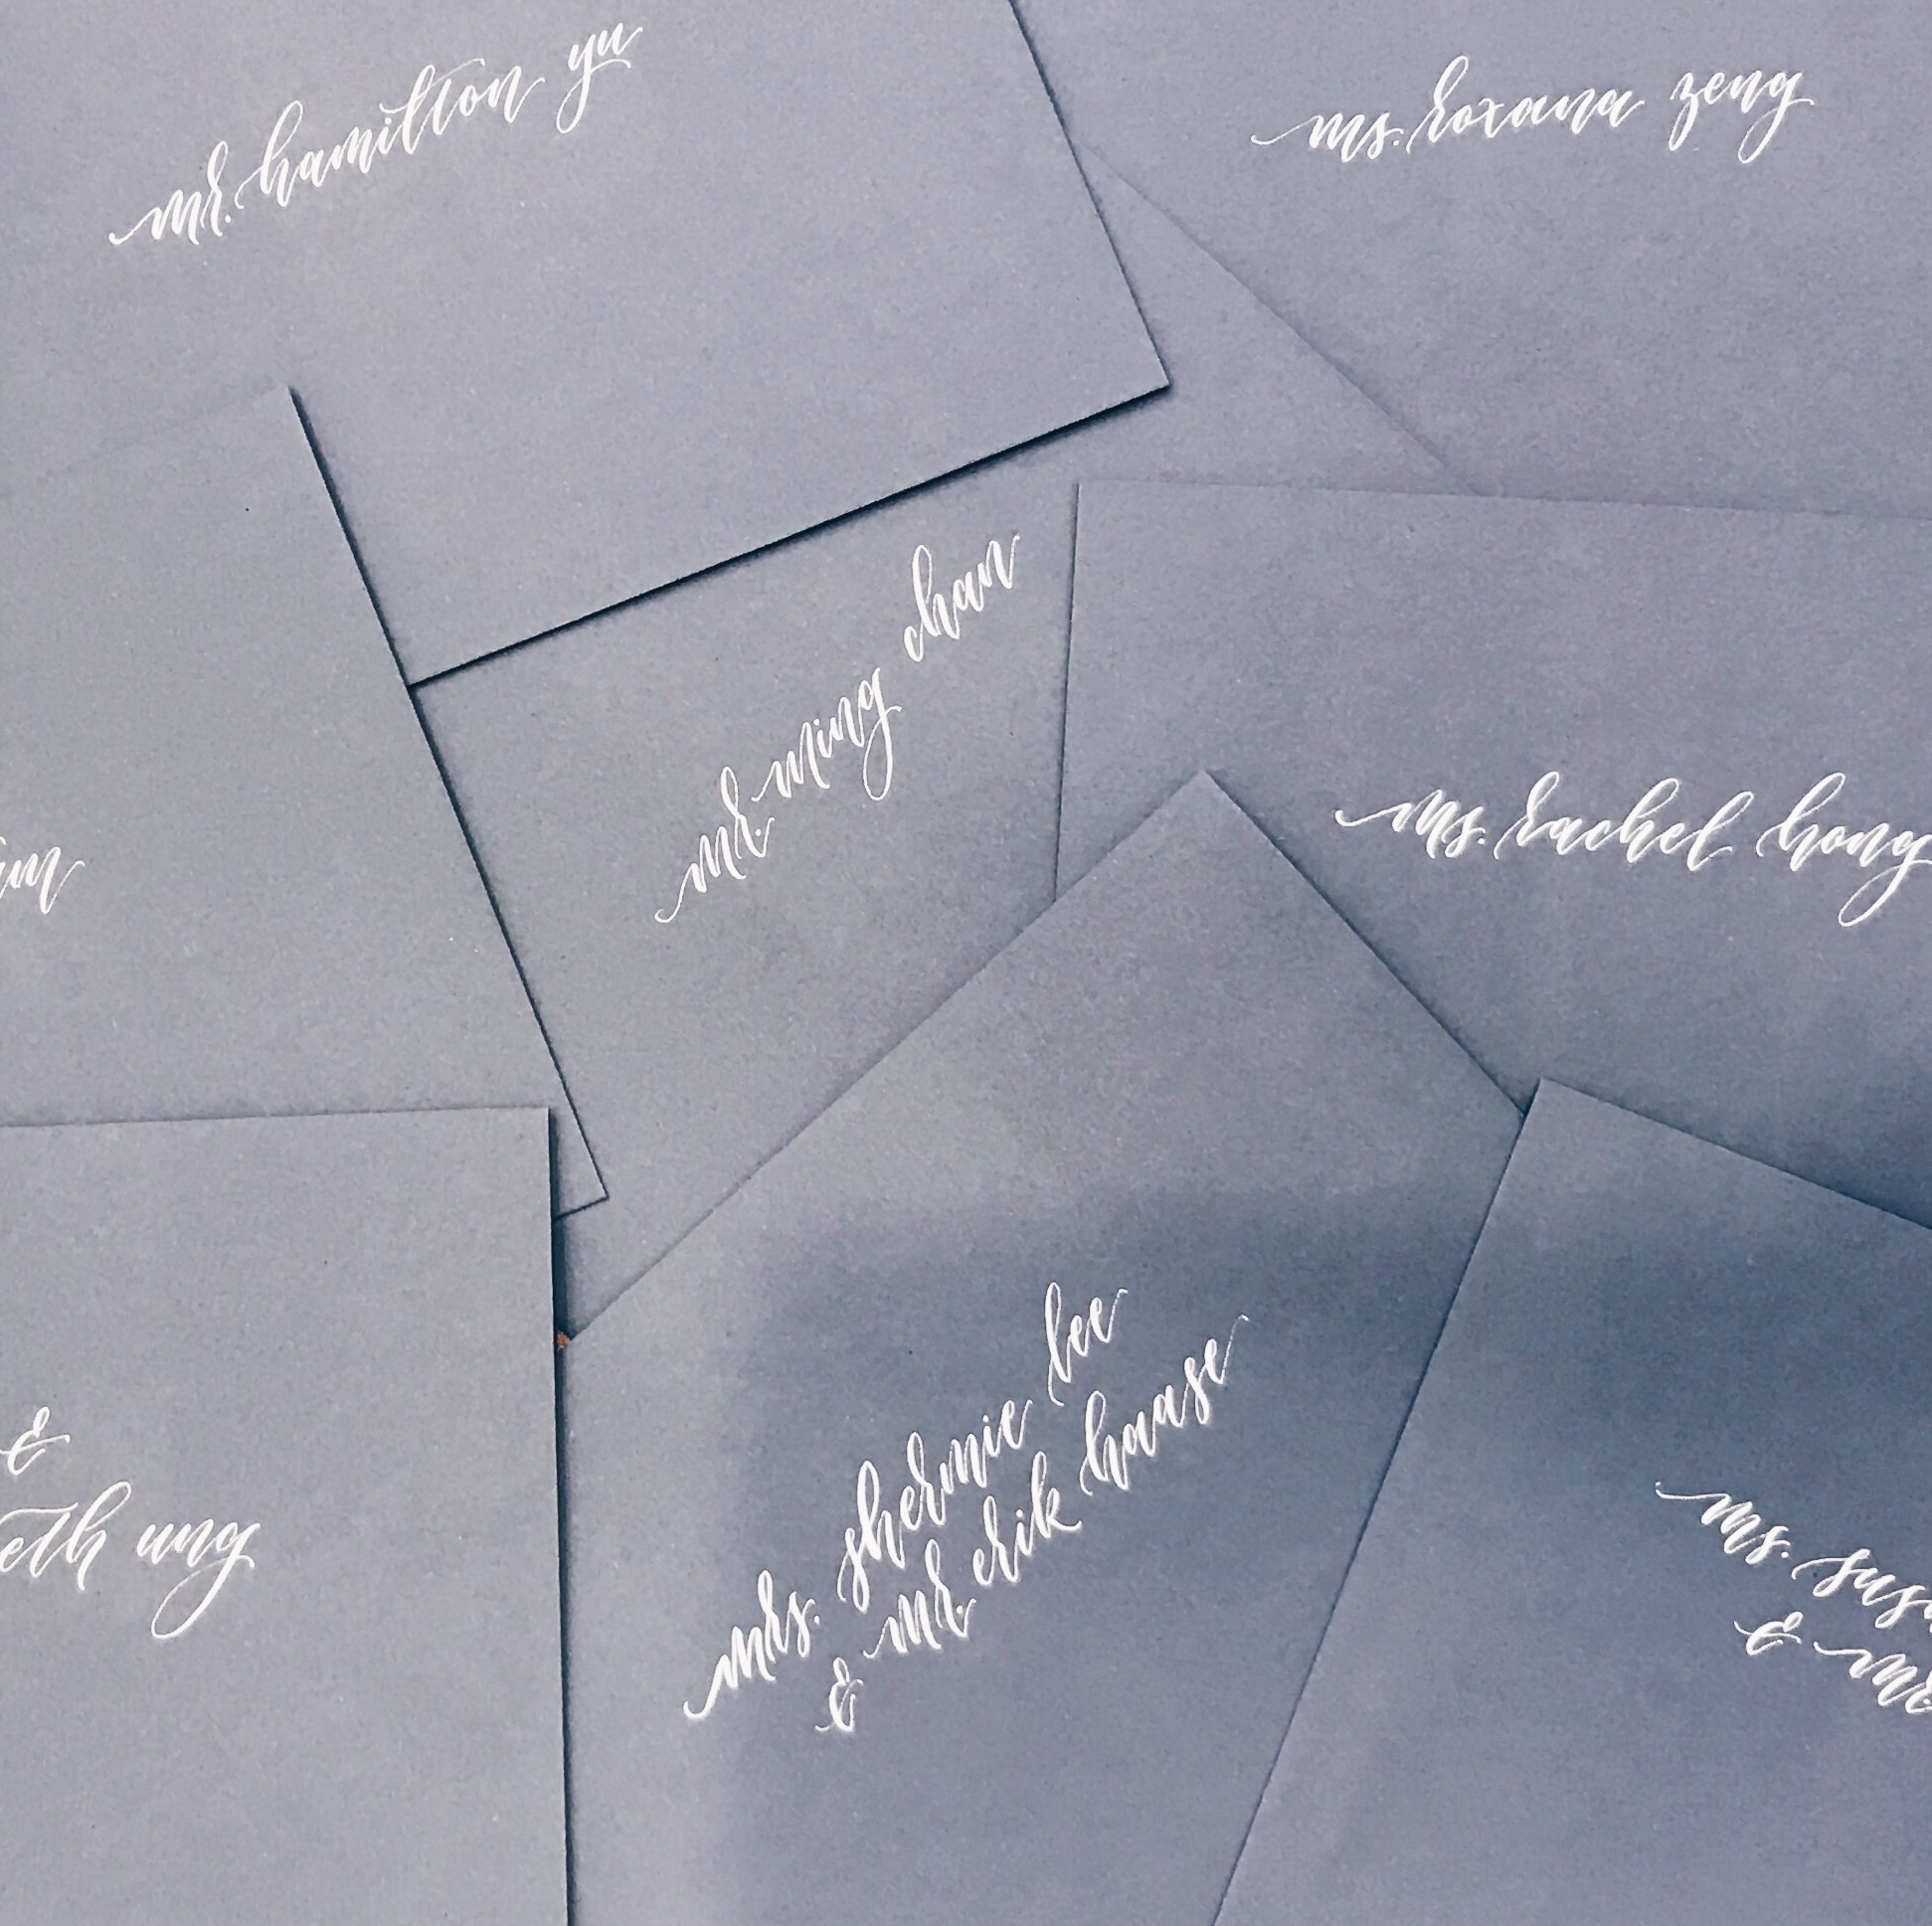 The envelopes
With the envelopes completed, we sealed the back with a wax stamp we had purchased at a Renegade Craft Fair one year. We loved the anatomic heart as it wasn’t typical for wedding invitations. Using a hot glue gun made the process quick and painless. Then, they were shipped off to their new homes. We were so pleased to hear from some of our friends that they loved the invitations (and later, the day-of wedding details, too!). Just goes to show that it’s totally worth it if even one person becomes inspired 🙂